In my last two blog post I explain how to enable Azure Active Directory Domain Service and how to configure it properly. If you still not read those you can find those in following links.
Step-by-Step Guide to enable Azure AD Domain Services
In this post I am going to demonstrate how to add a virtual server which is setup on azure in to the managed domain and how to use Active Directory administration tools to manage the AAD-DS managed domain.
One thing I need to make clear is since it’s a managed domain services you do not going to have same manageability as in house domain controller.
According to Microsoft,
Administrative tasks you can perform on a managed domain
• Join machines to the managed domain.
• Configure the built-in GPO for the 'AADDC Computers' and 'AADDC Users' containers in the managed domain.
• Administer DNS on the managed domain.
• Create and administer custom Organizational Units (OUs) on the managed domain.
• Gain administrative access to computers joined to the managed domain.
Administrative privileges you do not have on a managed domain
• You are not granted Domain Administrator or Enterprise Administrator privileges for the managed domain.
• You cannot extend the schema of the managed domain.
• You cannot connect to domain controllers for the managed domain using Remote Desktop.
• You cannot add domain controllers to the managed domain.
Create VM
As the first step I am going to setup new VM under the same virtual network as the managed domain.
1) In order to join VM to the same virtual network, we have to use Azure classic portal to build the VM.
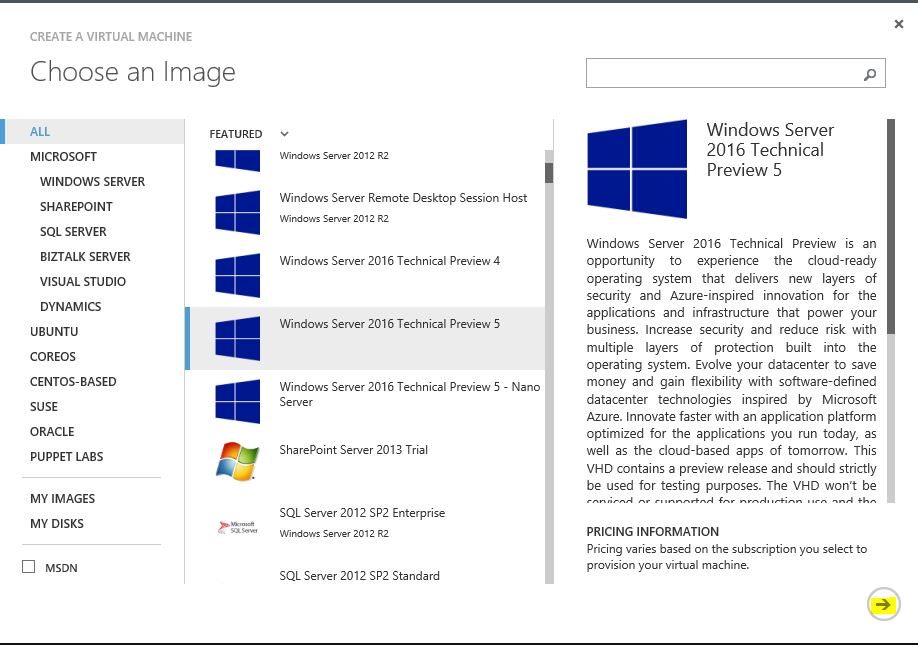
2) Log in to the azure classic portal > New > Compute > Virtual Machine > From Gallery ( The reason is using this option can define the advanced options)
3) Then select the template from the list. I am going to use windows server 2016 TP 5. Click on arrow to proceed.
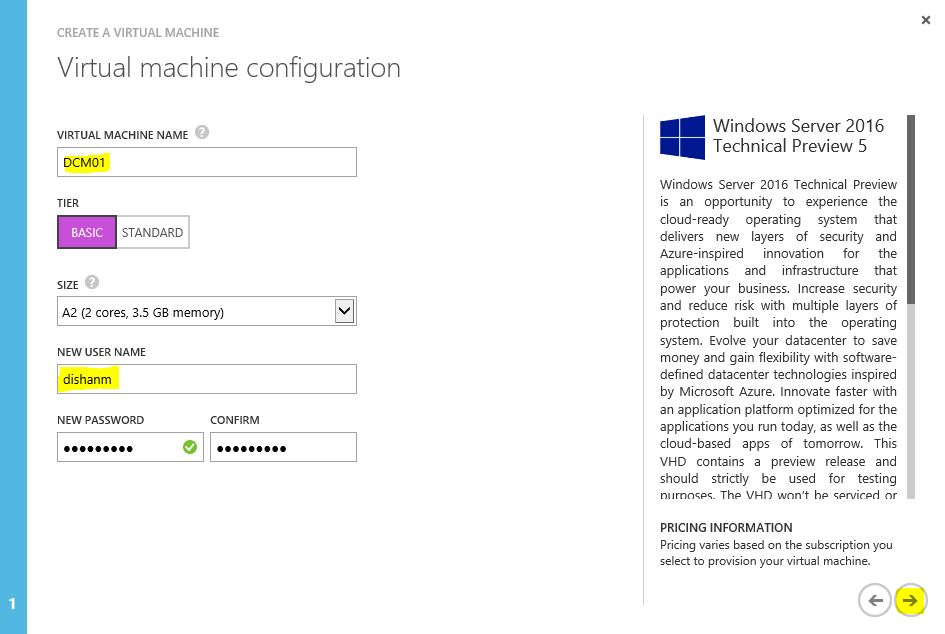
4) In next window provide the info for the new VM (such as name, resources and local admin account) and click proceed arrow.
5) In Next window select the Virtual network as same as the one you setup the AAD-DS managed domain. If you do not select correct virtual network you will not be able to connect this vm to the managed domain. Once done, click on button to proceed.
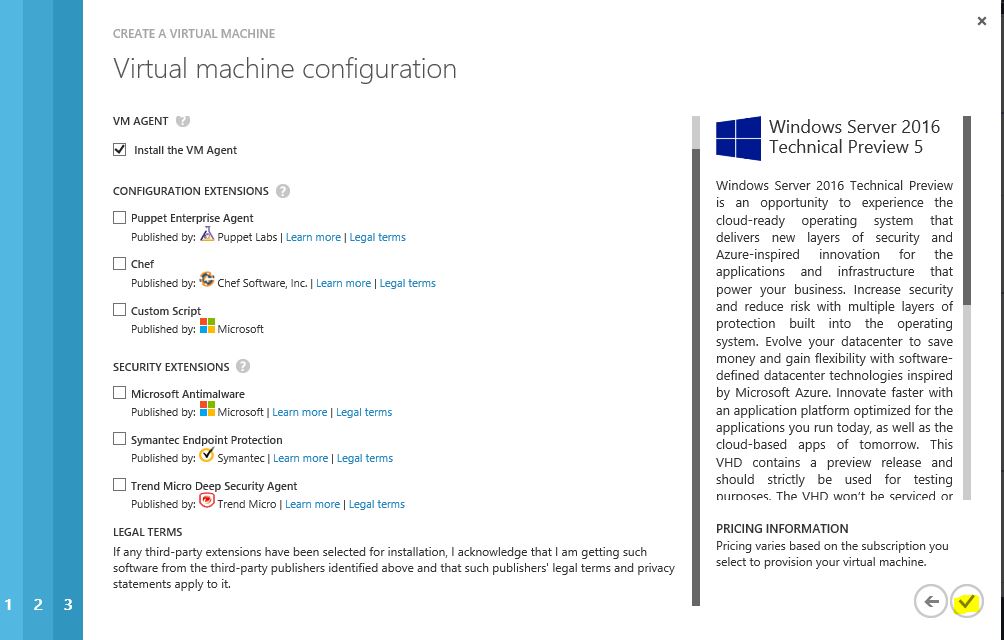
6) In next window can add the extensions you like and click to button to setup the vm.
Connect VM to the Managed Domain
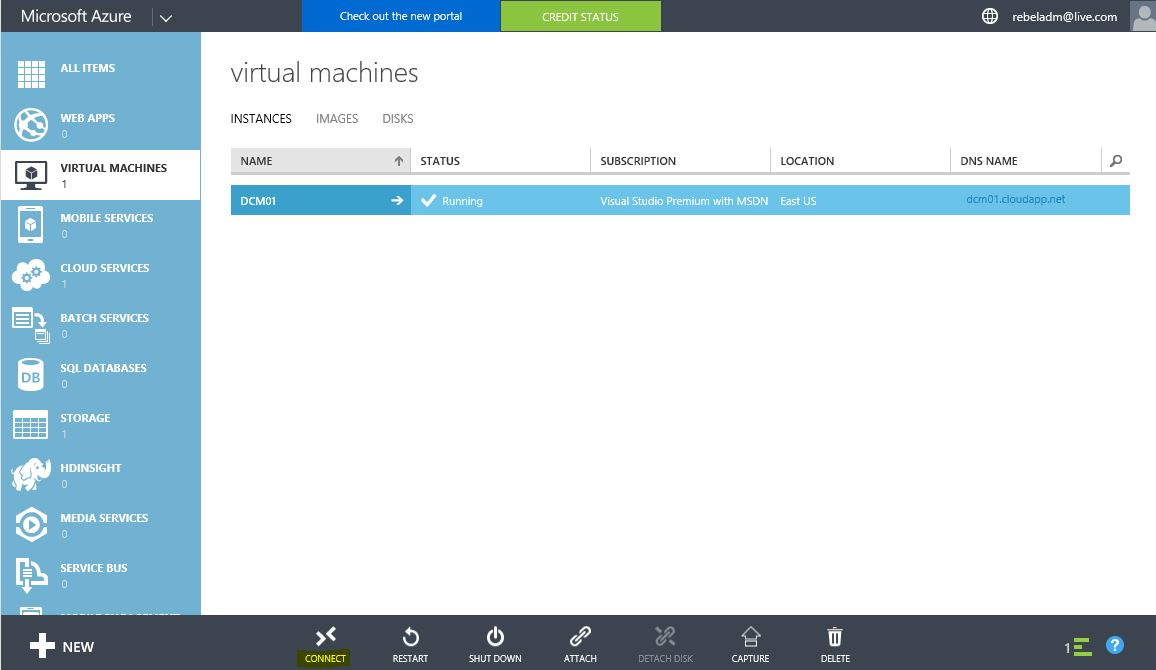
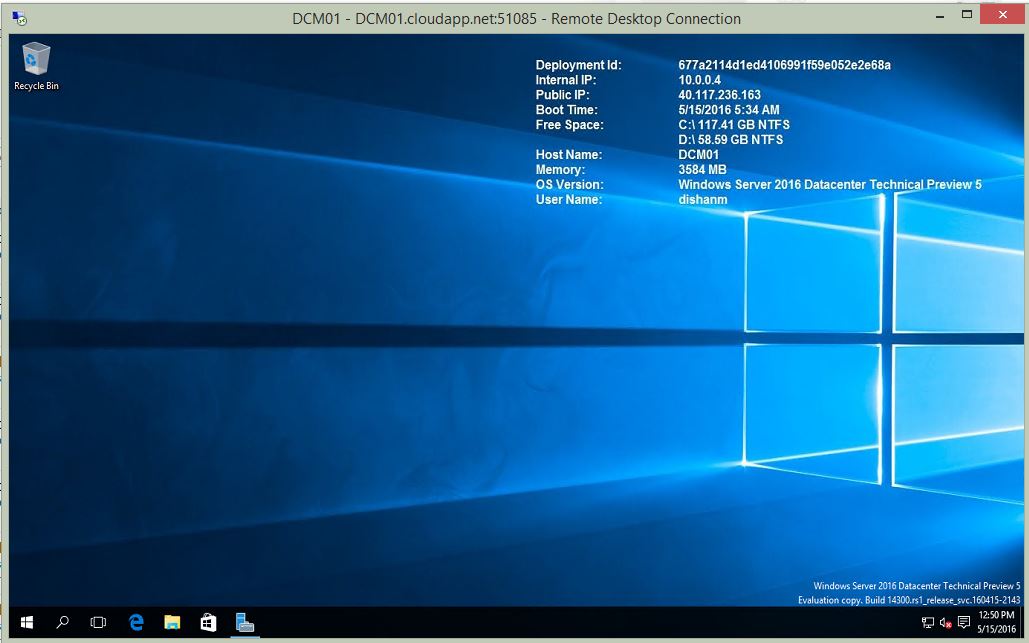
1) Once New VM is up and running, click on connect to log in to the VM
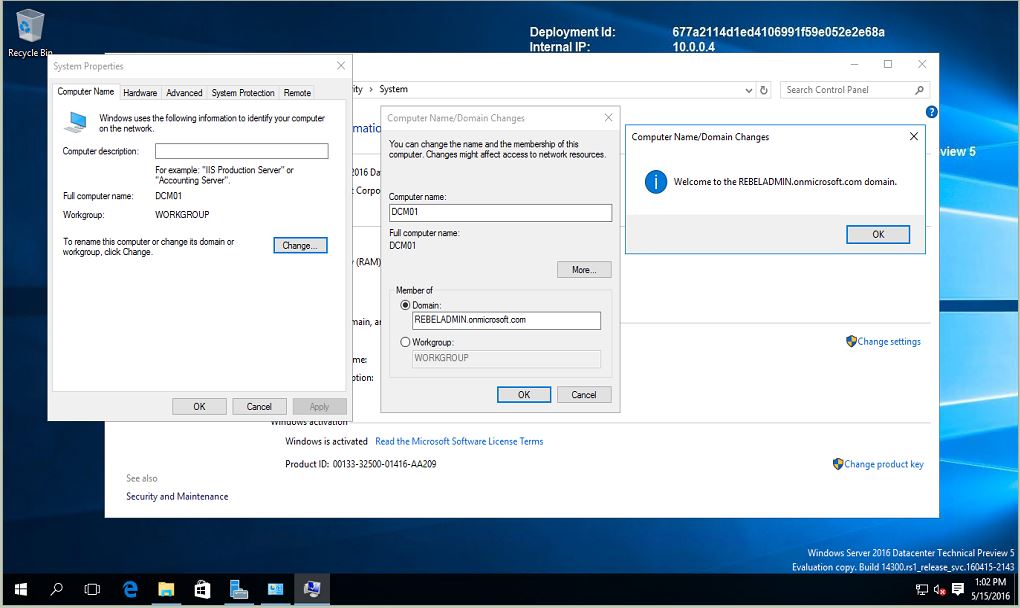
2) Now the server is ready, next step is to join it to the domain.
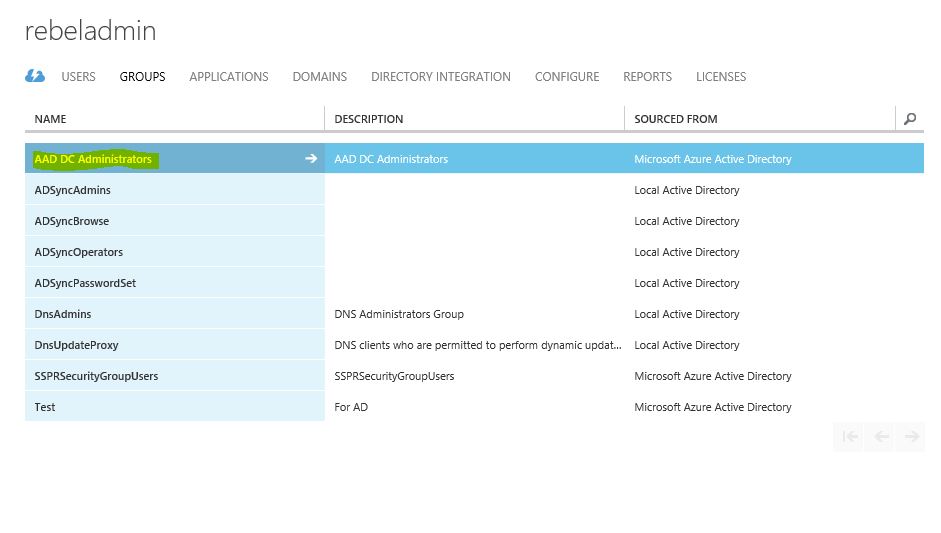
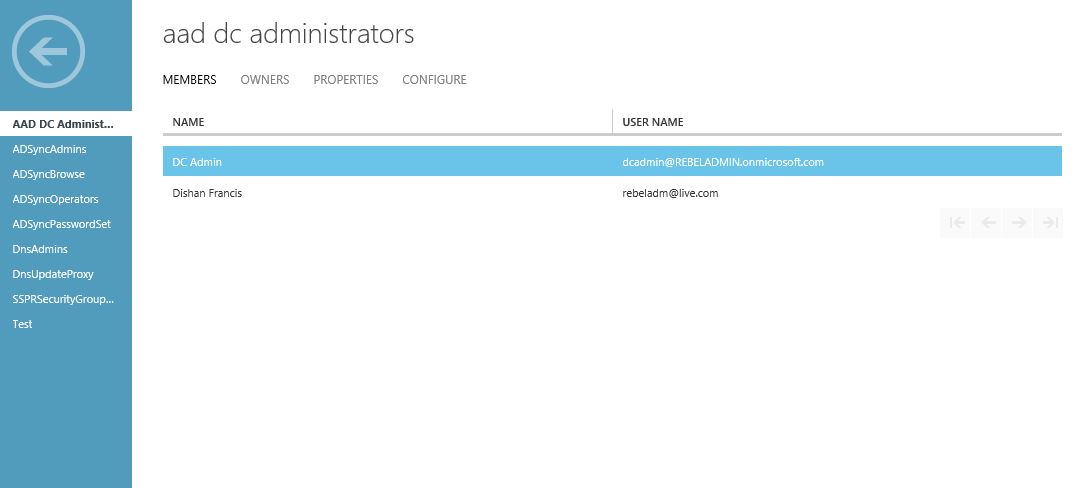
3) In domain, type the managed domain name and type the credentials. The use account used for authentication should be member of AAD DC Administrators group ( I explain on my first article how to setup this group)
4) Once connected to the domain, reboot it to complete the process.
Manage domain using AD administration tools
In this step I am going to install AD admin tools using that we can manage the Azure managed domain.
Note – This also can do using desktop operating system as well. Ex- windows 10. To do it, need to install RSAT for windows 10. (https://www.microsoft.com/en-gb/download/details.aspx?id=45520)
1) Log in to the server as member of AAD DC Administrators group
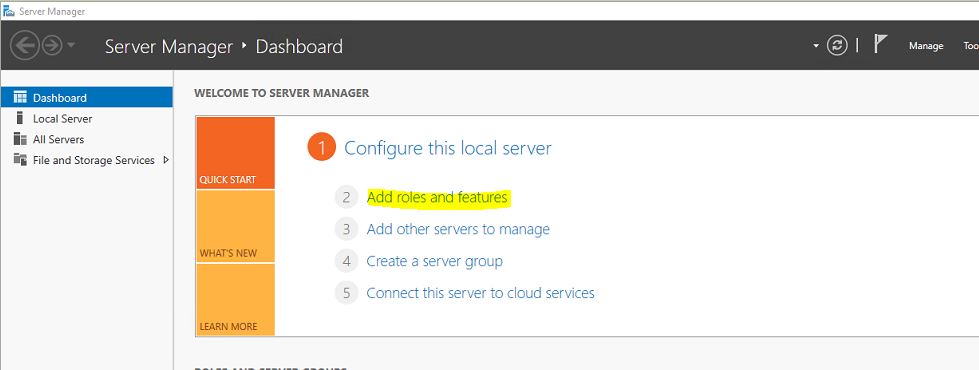
2) Server Manager > Add Roles and Features
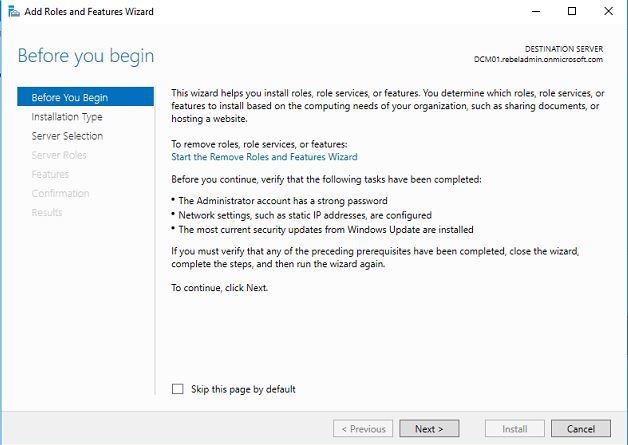
3) Click next in the wizard
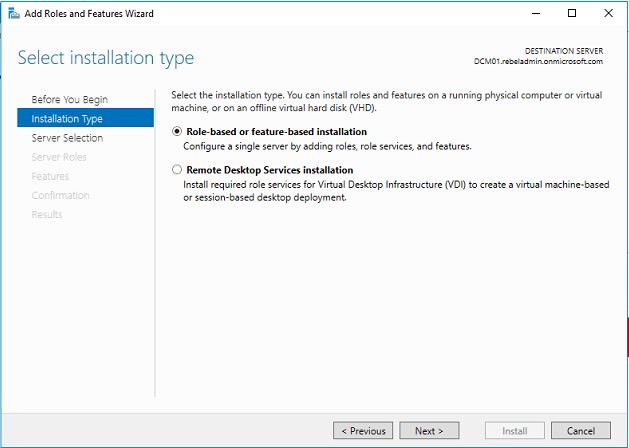
4) In next window keep the default and click next
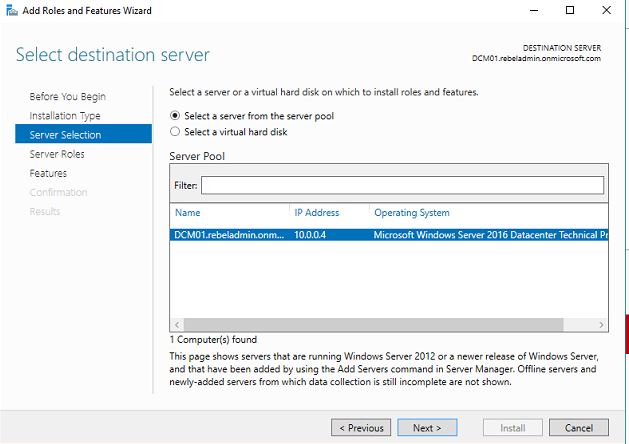
5) In next window keep the default and click next to proceed
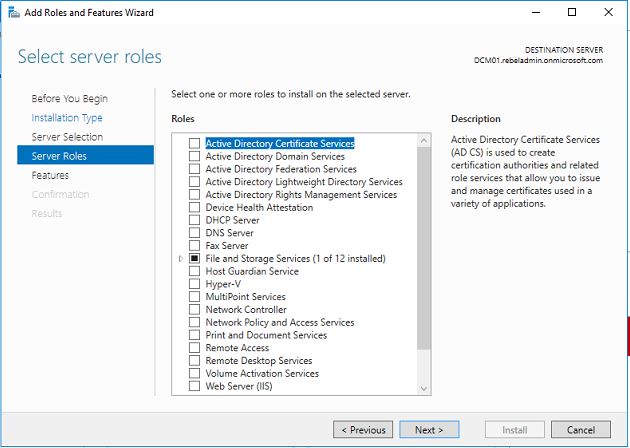
6) On the roles page, keep default values and click next
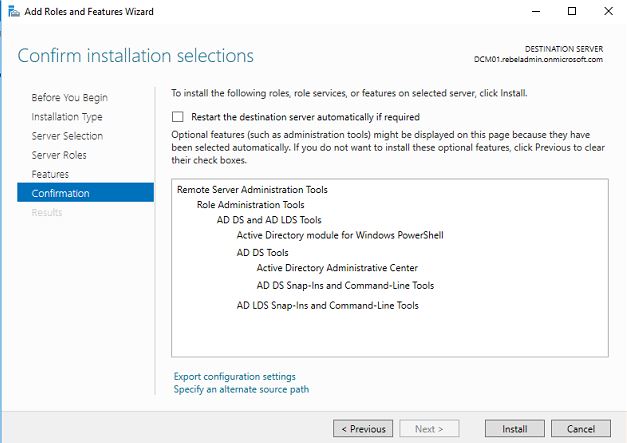
7) In features select Remote server administration tools > Role administration tools > AD DS and AD LDS Tools and then click next to proceed.
8) In next window click on install to proceed with the installation
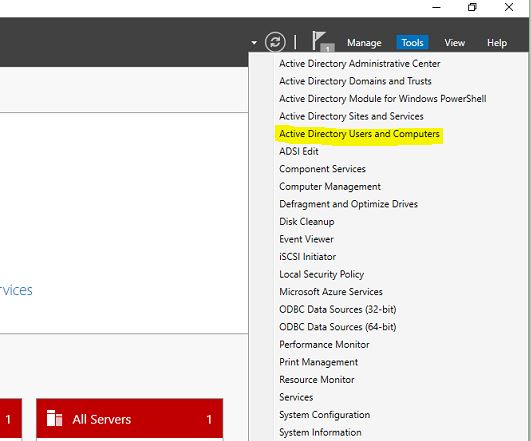
9) Once install done go to Server Manager > Tools > Active Directory Users and Computers
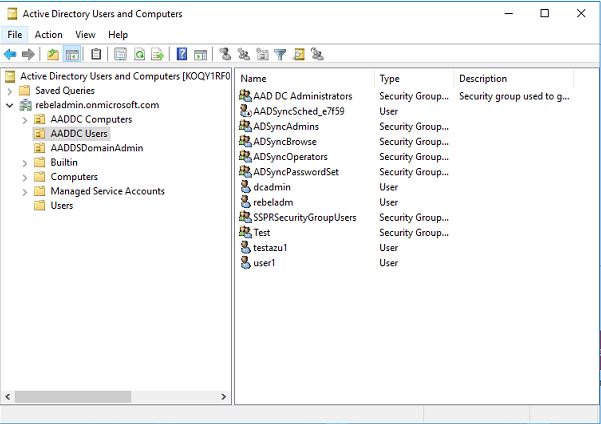
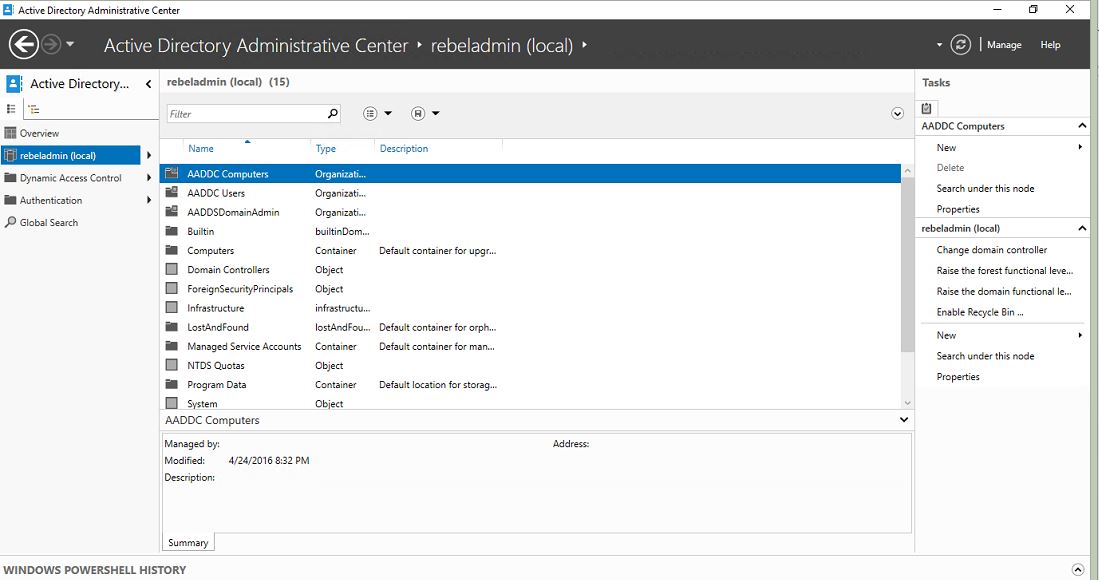
Here we can see the AD console which Admins familiar with.
Hope this is helpful and if you have any question feel free to contact me on rebeladm@live.com


