Multi-factor authentication is no longer a privilege. MFA is providing an additional layer of security for identities. MFA solutions are getting cheaper and cheaper. You even can enable MFA for free on certain online services. Microsoft outlook email is a good example of that. When it comes to cloud services this is more and more important.
Azure MFA is cloud-based multi-factor service which can use to provide two-step verification for Azure AD users. Azure MFA for Azure AD users comes as part of Office 365 or Azure AD P1, P2 subscriptions. When subscriptions are in place, we can enable MFA for users using different methods.
• Enable MFA for all users – This is the most secure method. We can enable this simply by using Office 365 or Azure Portal.
• Enable MFA for selected users – If the licenses are an issue, we also can enable MFA for selected users. This can be done using the same portals as above.
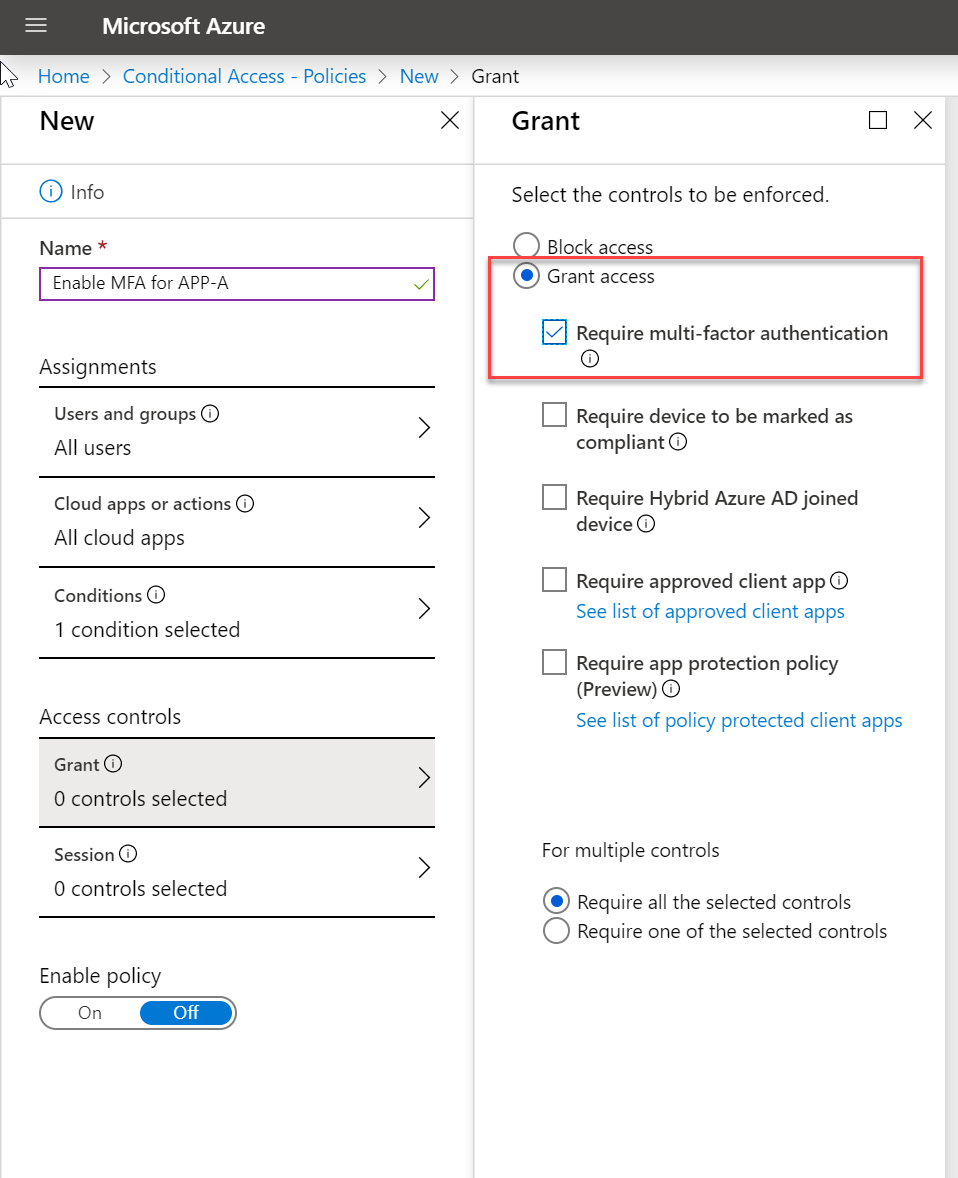
• Enable MFA based on conditional access policies – Let's assume sales users are accessing certain apps from various external networks. Using conditional access policies, I can force MFA authentication for any user who is accessing application A from an untrusted network. This way MFA will only be enabled for certain users.
Privilege accounts are always needing extra protection. Only option one above can guarantee that all privilege accounts will have MFA enabled. So how we can guarantee at least privilege accounts are protected using MFA? Now, Azure provides baseline conditional access policy which can enable MFA for an account with one of following directory role,
• Global administrator
• SharePoint administrator
• Exchange administrator
• Conditional Access administrator
• Security administrator
• Helpdesk administrator / Password administrator
• Billing administrator
• User administrator
Advantage of this baseline policy is,
• Admins can miss the privileged user accounts during the MFA configuration.
• This is available for all Azure AD versions including the free version. So, you do not need licenses to protect privileged accounts.
• It is just one click configuration. Very straight forward.
This feature is still in the preview stage, but it is not too early to test in a non-production environment.
Let's go ahead and see how we can enable this feature.
1. Log in to Azure Portal as Global Administrator
2. Search for Conditional Access on the search box.
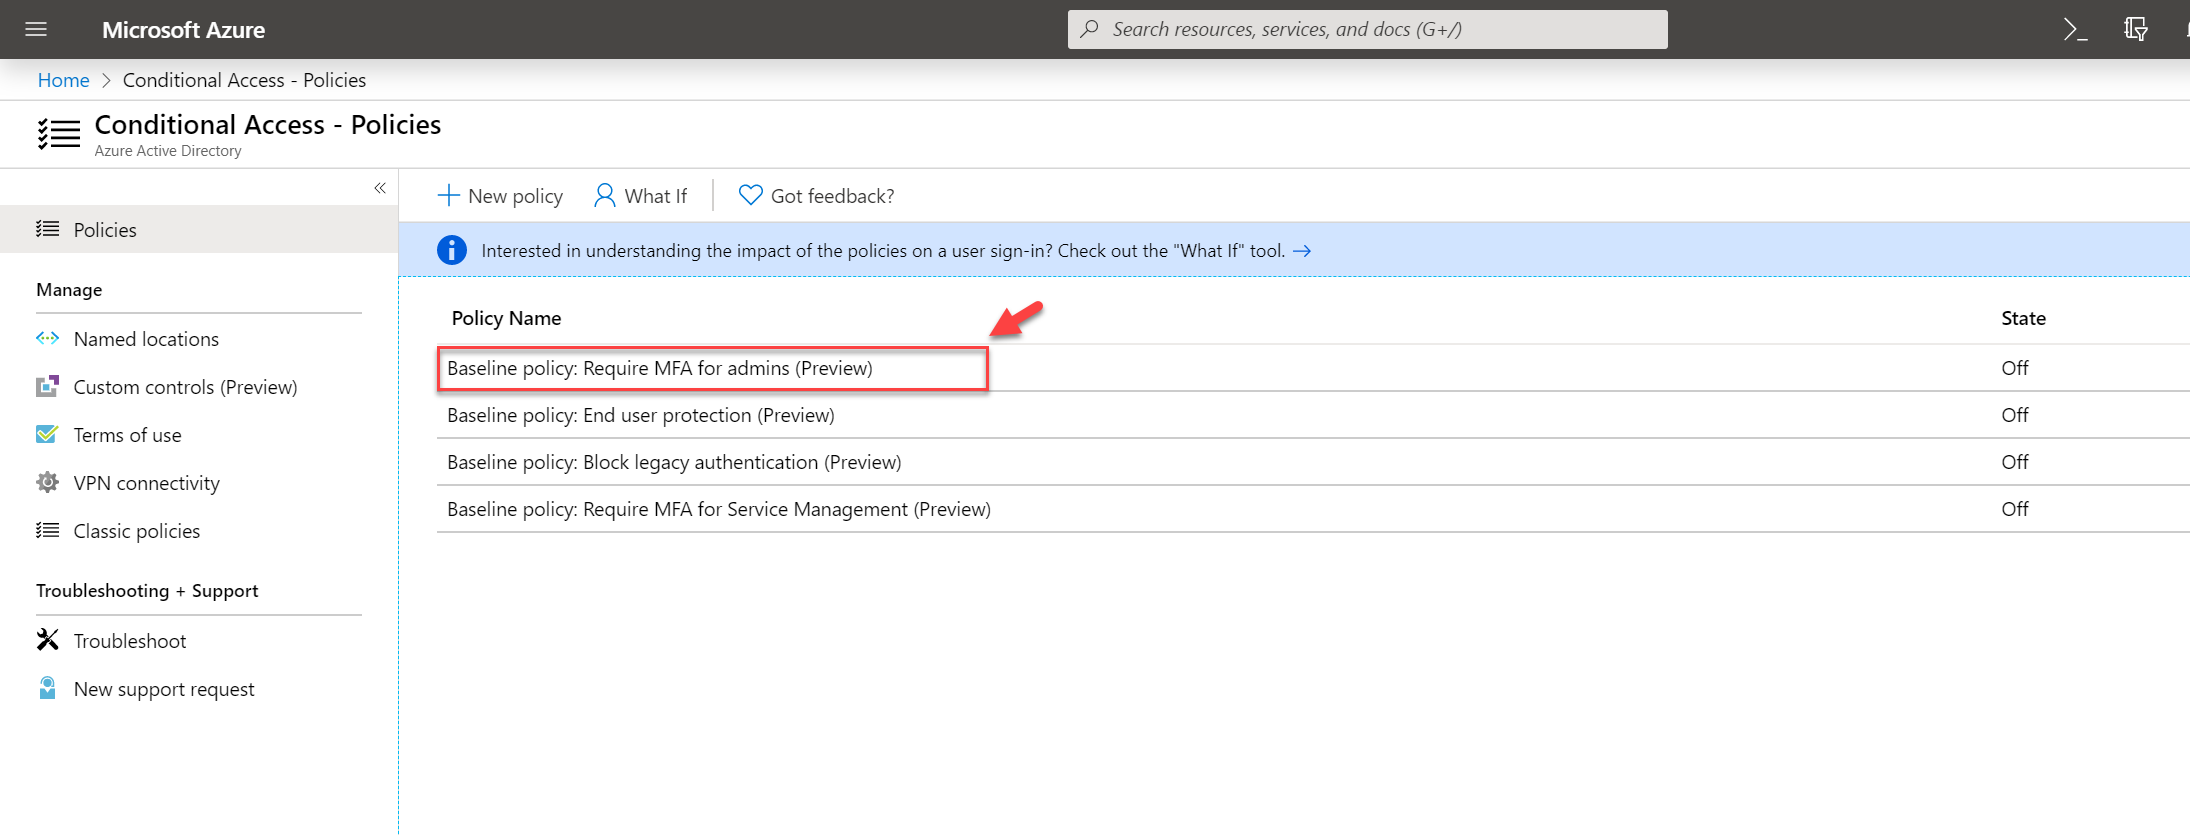
3. Then in the policies page, click on Baseline policy: Require MFA for admins (Preview)
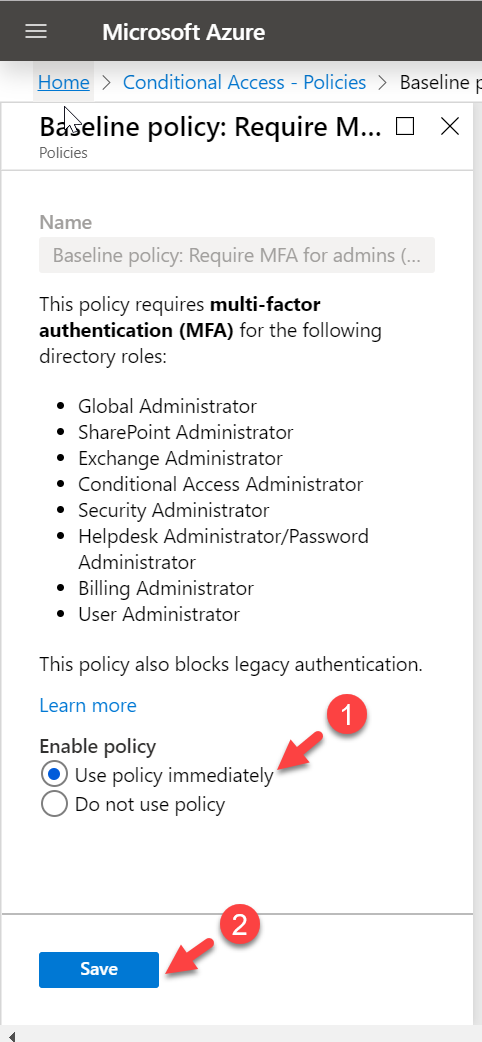
4. In the new window, select Use policy immediately under Enable policy option. Then click on Save to apply settings.
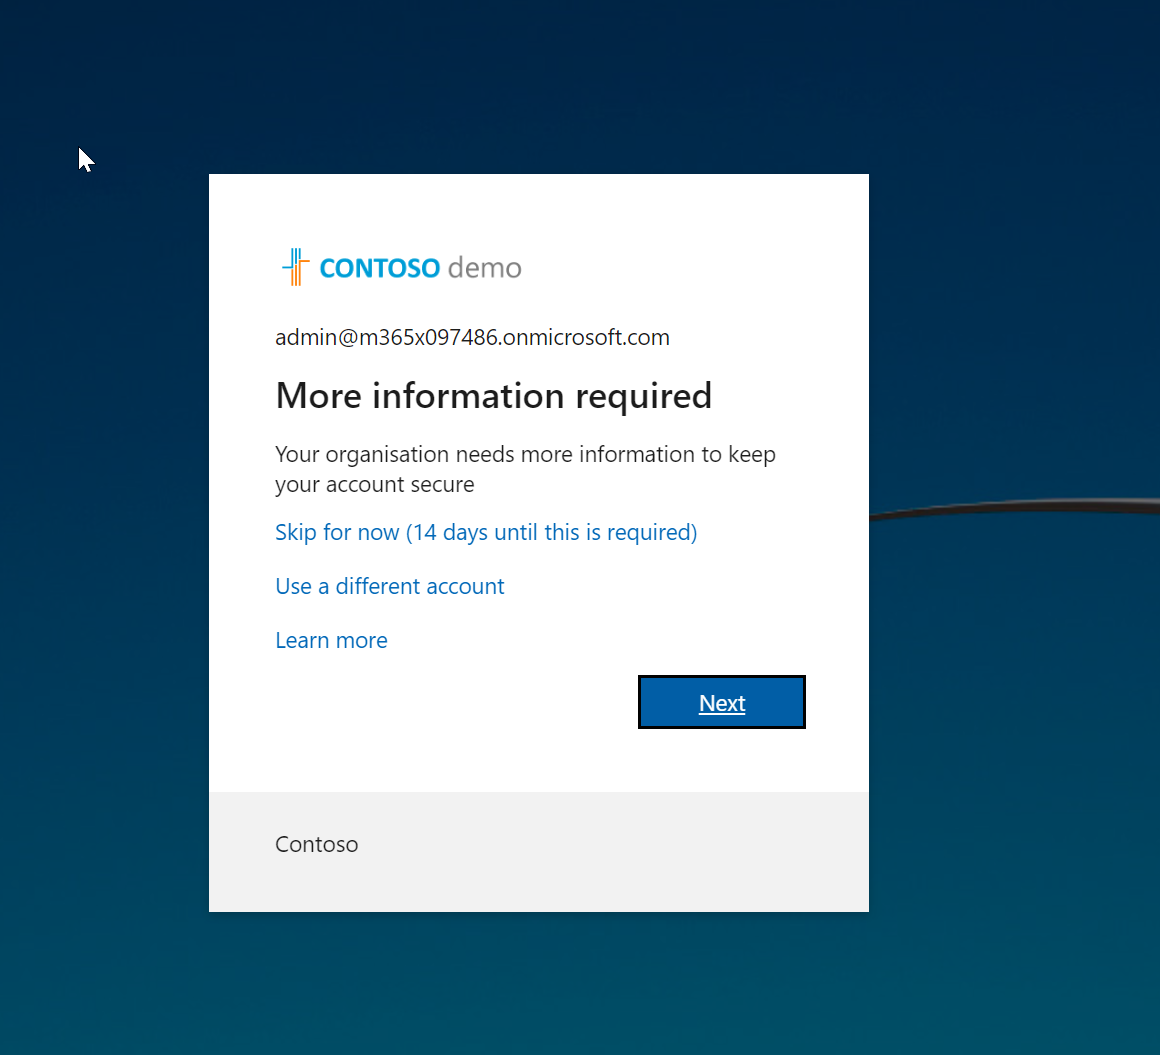
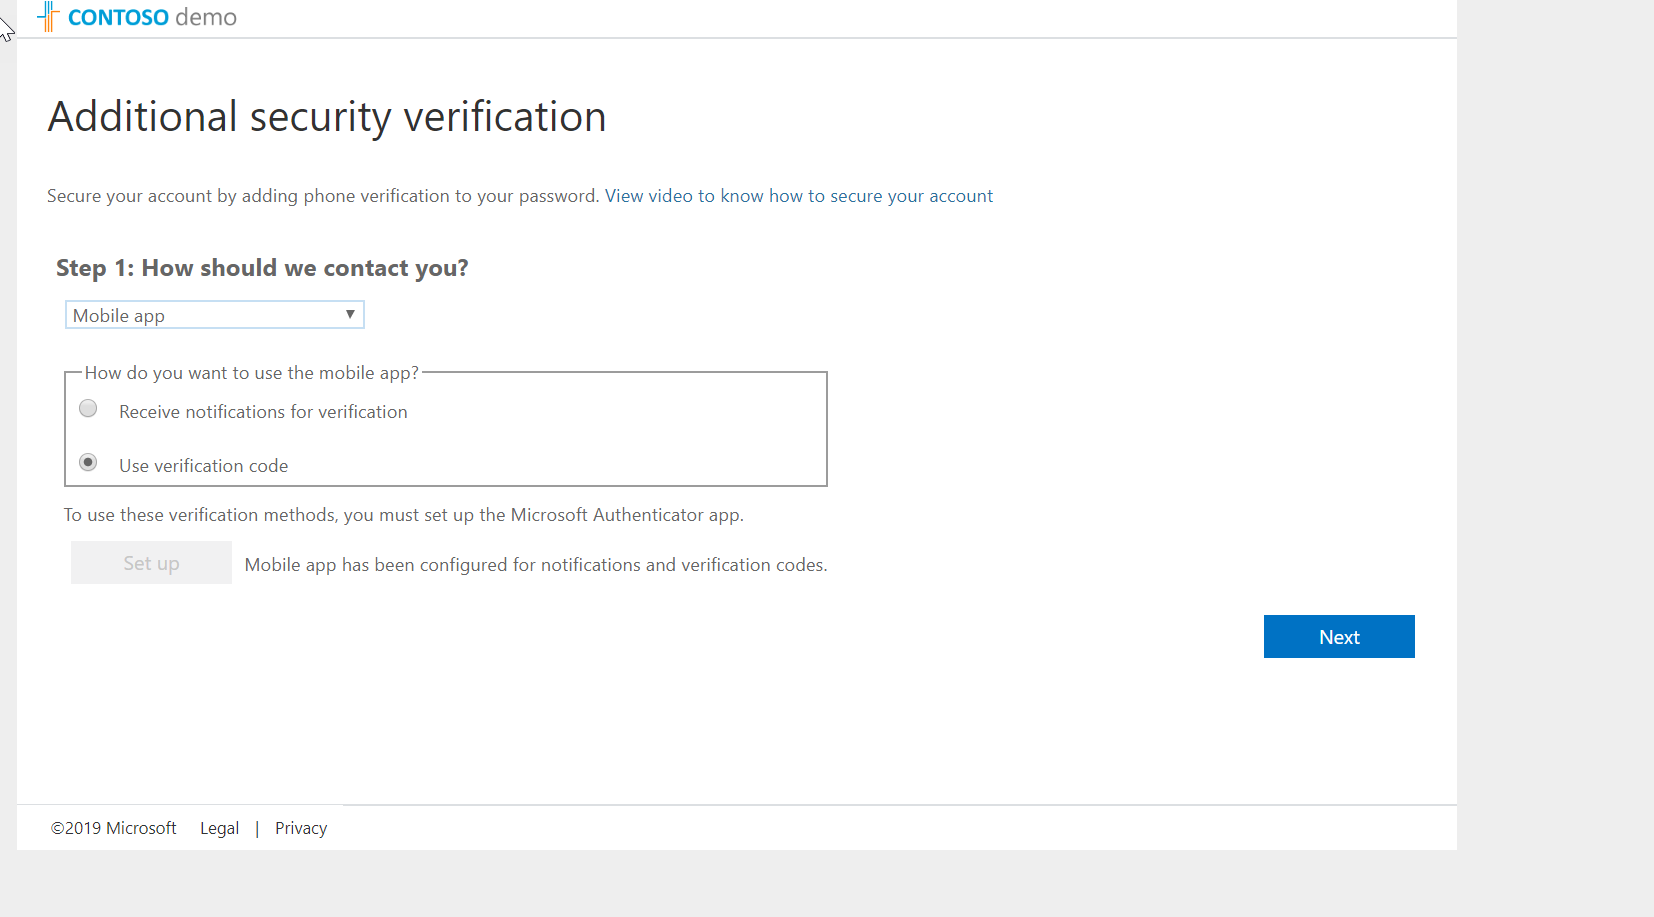
5. After settings are applied, I log off and try to log back into portal as Global Administrator. As expected now it is asking me to configure Azure MFA for the first time.
6. I follow the steps and completed the sign-up process.
7. After that, whenever I log in as Global Administrator, the system uses MFA.
This marks the end of this post. I hope this was useful and If you have any questions feel free to contact me on rebeladm@live.com also follow me on twitter @rebeladm to get updates about new blog posts.





Very nice articale